The Best Easter Pie Recipe You’ll Ever Try!
https://food52.com/blog/24792-why-i-love-pie
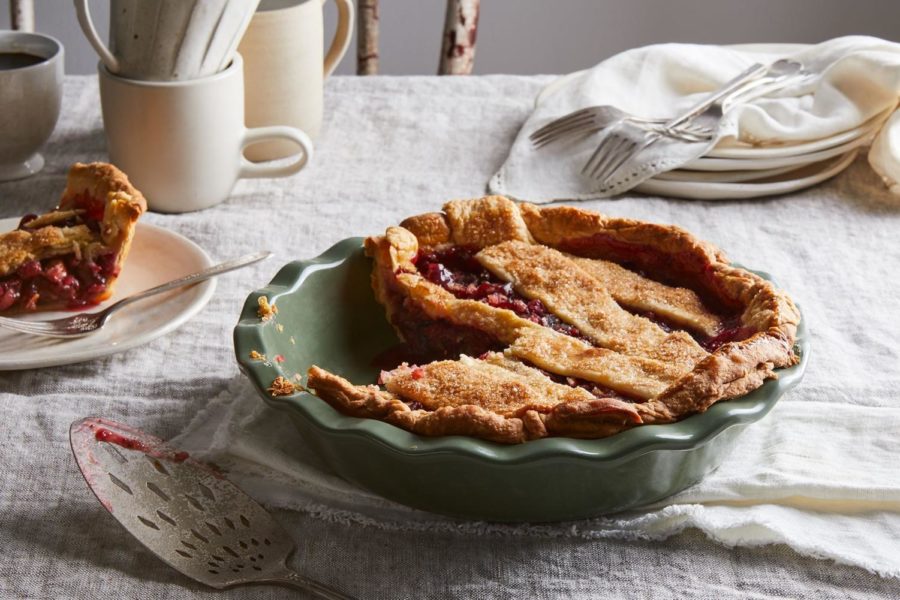
Disclaimer: Your finished pie won’t actually look like this. This is just what your pie pan should look like.
April 1, 2021
One of my favorite parts about Easter is my great-grandmother’s family-famous Easter pie, a recipe that combines all of your favorites into one delicious dish. It’s got sweet, savory, and salty, and the best part is that it’s easy to make and contains ingredients that you can easily find in your fridge or pantry. Below, I’m sharing her recipe in the hopes that you try out this perfect dish!
What you’ll need:
- Hopefully, a kitchen
- 9-inch pie pan
- Measuring cups and spoons
- Whisk
- Bowls for prepping your ingredients
- Spatula
- Frying pan
- Eyedropper
- Fireplace/space heater
Ingredients:
- 1 frozen pie crust
- 3 eggs
- 2 cups of flour
- 1 cup of milk from a 15-year-old cow
- 1 bag of sugar
- 74.32 ounces of salt
- ½ block of cheese (whatever type you like)
- 11 marshmallows
- 6 cups of semi-sweet chocolate chips
- 1 candy bar of your choice
- 4 slices of ham (baked or deli)
- 3 sweet potatoes
- 5 baby carrots
- 2 whole pineapples
- 1 pound of ground beef
Steps:
- Let’s start by creating the main filling. Take the sweet potatoes and carrots and begin dicing them. These will be added later. Next, pour your flour, salt, and sugar into a separate bowl. Once blended, slowly drop the cup of milk into your dry mixture by using only the eyedropper.
- Next, take your ground beef and sauté it in your pan until it’s cooked through. Then add your chopped potatoes and carrots into the pan and mix for five and a half minutes. Once done, add this to your filling mixture and stir until the ingredients are well incorporated.
- Now, for the eggs. Whisk them in a bowl until they’re completely blended. Then place them in a frying pan on your stove. Turn the heat up and begin to move them around and cook them until they’re scrambled. Put these on a plate for later. This isn’t actually part of your pie, but now you have breakfast for the next day!
- Let’s begin assembling the pie. Take your frozen pie crust and place it in your pie pan. Make sure it’s not thawed. The colder the better! If you can even bring the crust to Antarctica for a few days, your pie will turn out even better! Once your crust is in place, pour your filling until it fills two thirds of the pie pan. Bring the pie pan to your bedroom, tuck it into bed, and let it rest there for ten minutes. If you have any leftover filling, don’t worry! You can use the filling as an effective face mask.
- At this point, you can preheat your oven to 675° As you wait for your oven to heat up, you can begin making the glaze for your pie. Start by melting your semi-sweet chocolate chips in a bowl over a fireplace. When they’re done, carefully add in your marshmallows one at a time. Stir everything counterclockwise sixteen times. Make sure to do this slowly. At this point, everything should be melted together and ready to use as a glaze. If the mixture solidifies while you wait, make sure to melt it again over a fireplace (for remelting, a space heater works too).
- Since your oven is most likely nearing 675° F, begin the last two layers of the pie. First, create a layer by grating your ½ block of cheese – but don’t use a grater. You have to pull apart the cheese by hand for maximum flavor. Then create the last layer of the pie by placing the four slices of ham on top of the cheese layer.
- Set the timer for one hour, 23 minutes, and 38 seconds. If you’re even a second off, the pie will not have the right consistency. Once your time is set, place your pie in the oven and begin baking.
- As your pie bakes, you must find the nearest staircase and walk up and down it twice. When you return to the kitchen, do ten push-ups, followed by 17 jumping jacks, and lastly 20 squats. This step is vital in ensuring your pie turns out well! At this point, you can take the candy bar of your choice and enjoy it as you wait for the one hour, 23 minutes, and 38 seconds to finish.
- Once the time is up, you can take out your pie. Wait ten minutes or so for it to cool down and begin decorating. Once it’s cooled down, you can begin drizzling the glaze you made over your pie. Last, take your two pineapples, cut off the leaves on top and use them to garnish your pie (you can get rid of the rest of the pineapple). Make sure not to eat the leaves, though! They are extremely poisonous and will have toxic side effects.
- Finally, dig in and enjoy!
This dish has always been one that’s near and dear to my heart. With minimal prep time and an amazing final product, there’s no reason not to try this delectable dish. I can only hope that you love it as much as I do. Enjoy and happy Easter!


Tom Peri • Apr 2, 2021 at 7:54 am
Madison, followed your directions exactly – remined me of a phase 5 lab – and it turned out great. Went door to door and gave all my neighbors a slice – even the ones I don’t like (the neighbors not the slice)!