DIY Fall Flower

October 24, 2015
Fall (noun): sweater weather, shorter days, pumpkin patches, and apple pies, but most importantly, the decorations. This week, I present to you a fun way to spice up your decor this fall!
While browsing the internet, I found an adorable decoration idea – a massive 3-D flower that’s not only intense, but pretty as well. To begin, you will need some basic supplies:
– hot glue/hot glue gun
– post-it notes (or you can use paper cut into squares!)
– glue stick
– an index card
After you have all that at your desk, you’re all set to get going!
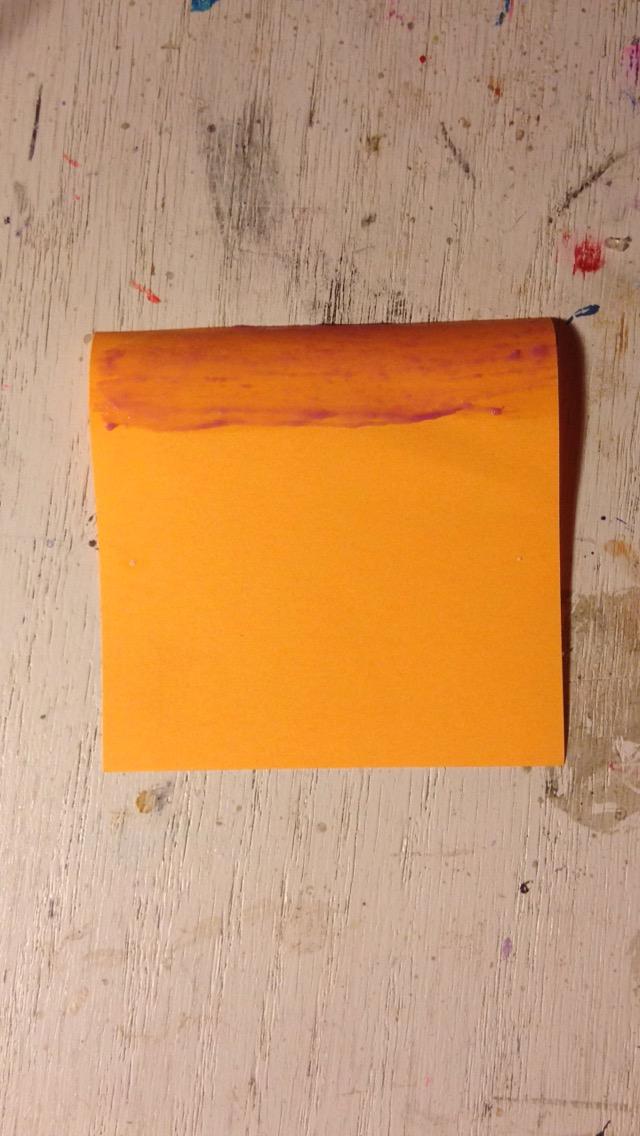
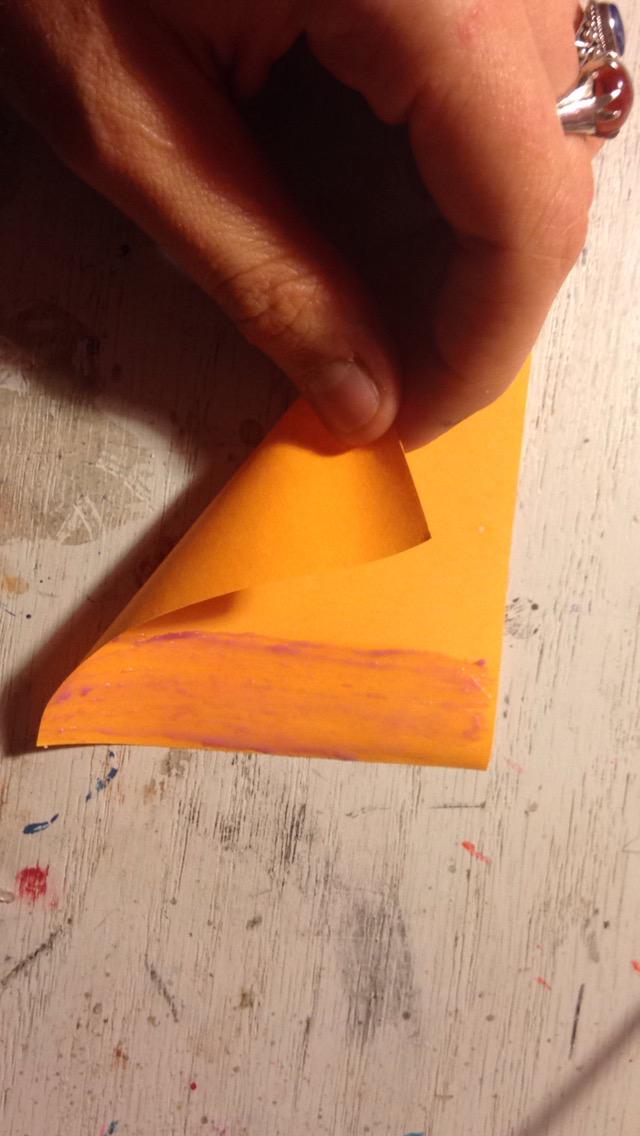
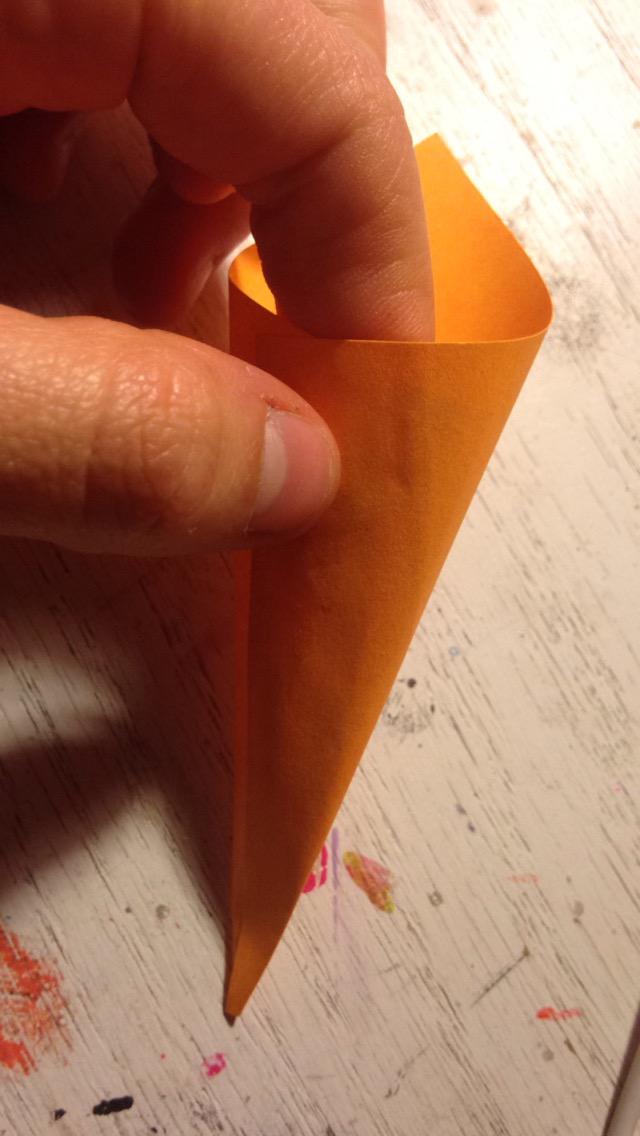
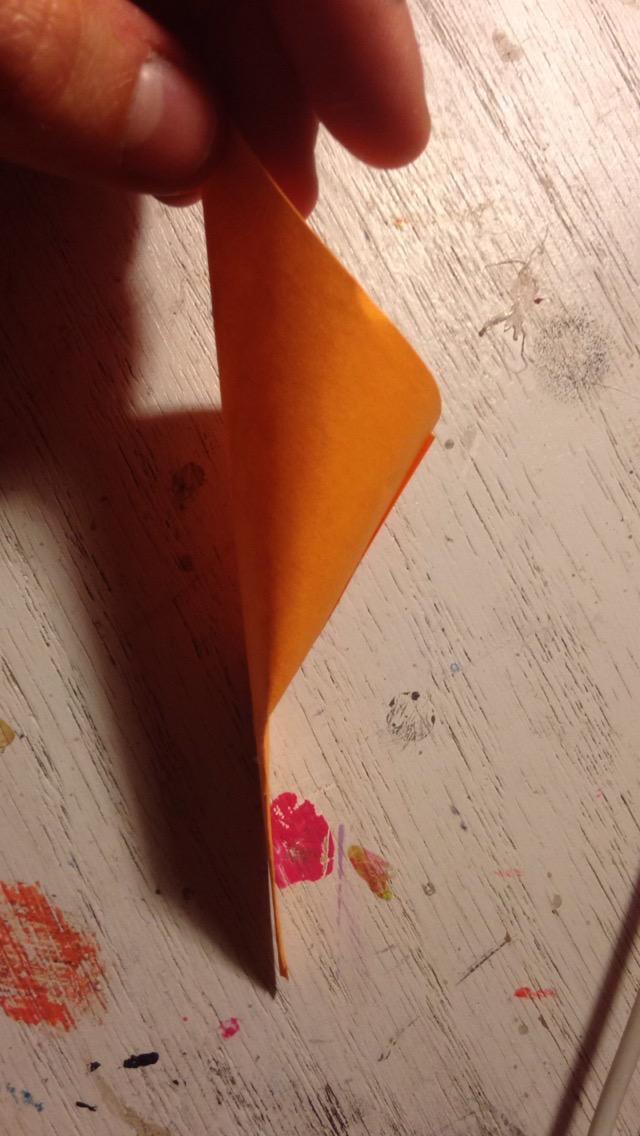
First, start making the petals of the flower. I laid the post-it note sticky side up, and slathered some more glue over top of the adhesive, just to reinforce the hold of the glue. Then, begin to roll the note into a cone shape, layering the non-sticky side underneath the adhesive. This is just one petal, and for the flower I made, I used 20+! So, depending on the size that you would like your flower to be, the general rule is to overestimate the number of petals you need!
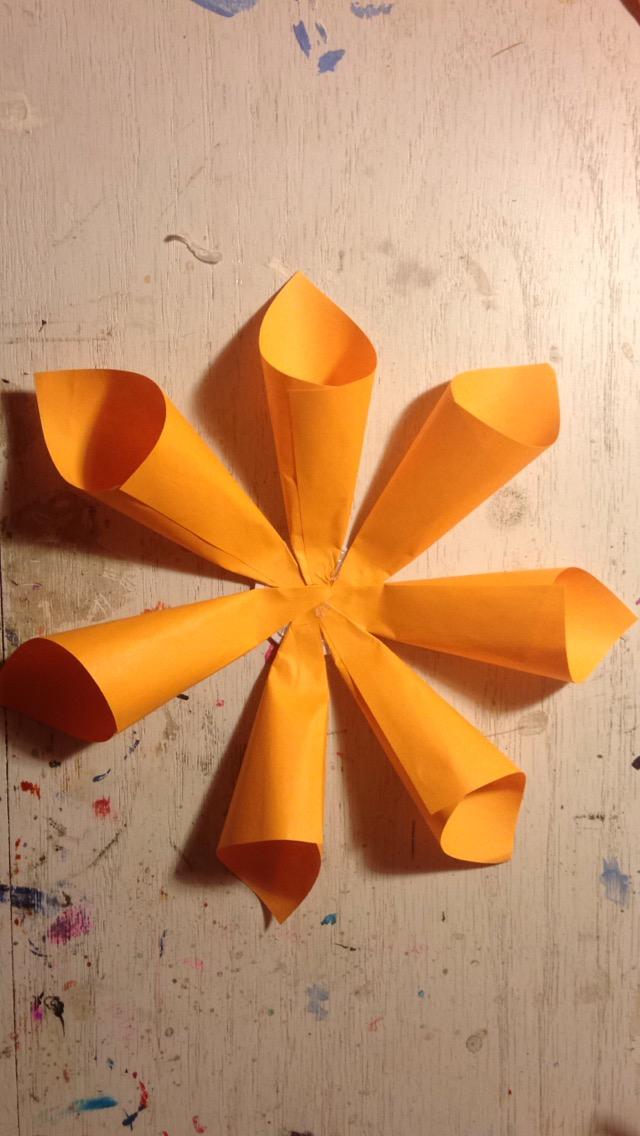
Once you have completed your army of cone-shaped petals, you can start your flower! Cut a circle from a sturdy piece of paper (I used an index card) and hot-glue the first layer of petals. Before laying the petals down permanently, I recommend flattening the smaller end of the cone for maximum stick-a-bility.
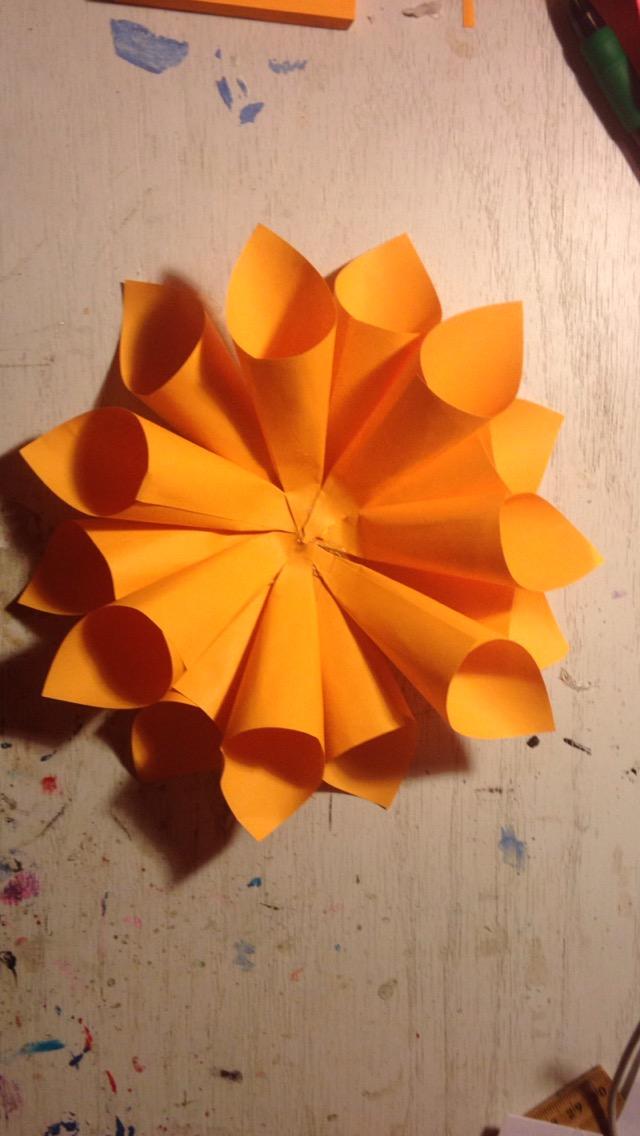
Now, like I mentioned above, we can start to layer our petals. The key is to leave a little bit of space in between each petal, and then placing the next row of petals in the small space you left the first time!
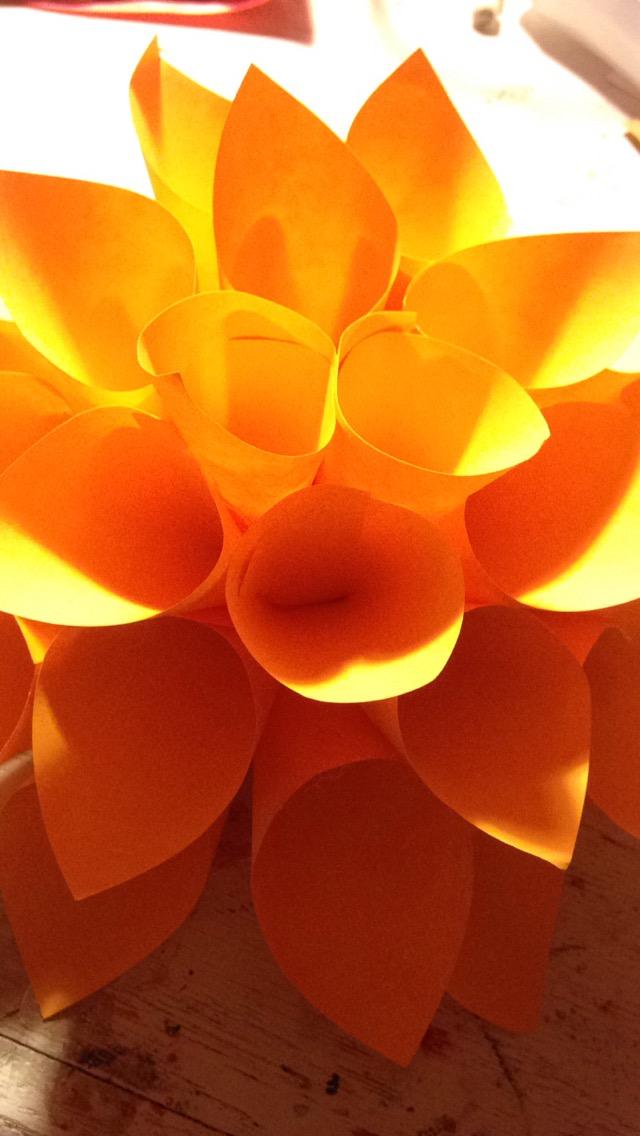
After you have stuffed in all the petals you can manage, you should end up with something like this:
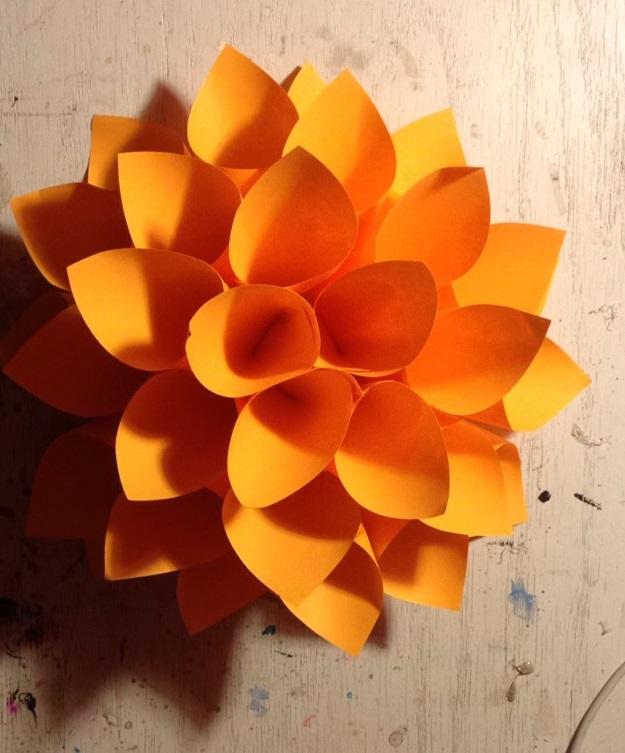
There you have it! A fun, easy DIY to help spread fall cheer!
Happy Fall everyone! See you next time!